Tomorrow is the first day of the Spring semester for me, so I thought I would share how I labeled my notebooks for my classes. You may remember this tutorial from last semester, but this semester I did this 5 step, last-minute DIY that turned out pretty well.
For the notebook labels, all you will need is your computer, printer, a sheet of shipping labels, and the Avery Design&Print software.
1. The first step is to open the Design & Print software and type in the label’s product number and select the product.

2. Select the blank label is the design tab.

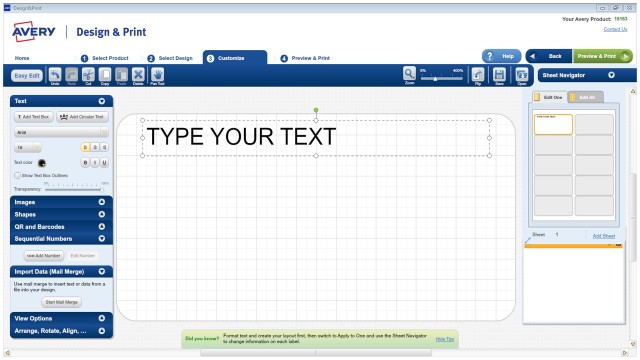
3. Customize your label with text, images, or shapes in the Customize tab.
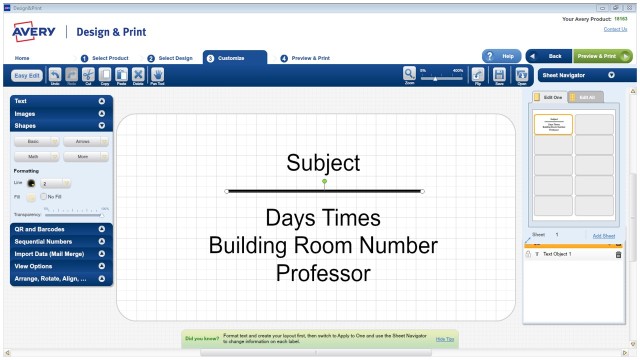
Below is the basic outline I used for each label.
4. Review you labels and prepare to print them out. Make sure you select only the labels you will be printing on using the print options on the right-hand side.

5. Print!
Thanks for reading, I hope you found this useful and easy!
Good Luck this semester!